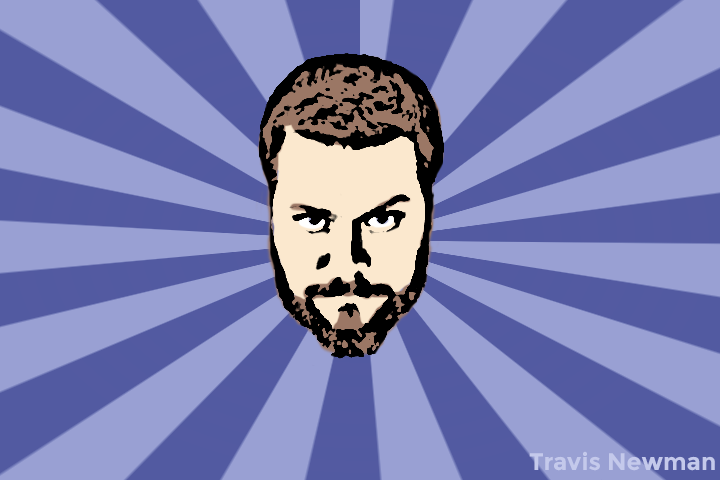
This version of the cartoon uses filters and layer blending to achieve a cartoon look. After getting the picture down to the very basics with filters, I then painted different layers for different parts of the face.
This version looks less cartoonish, but I prefer the overall look.

This version of the cartoon uses simple pen tracing and color fills. On one layer, I traced out all of my facial features, and added a stroke to the layer to make it look like it was drawn with fat lines. Then, in new layers I filled in the facial features with a simple fill.
This version definitely looks more cartoonish than the first, but I prefer how the first turned out.
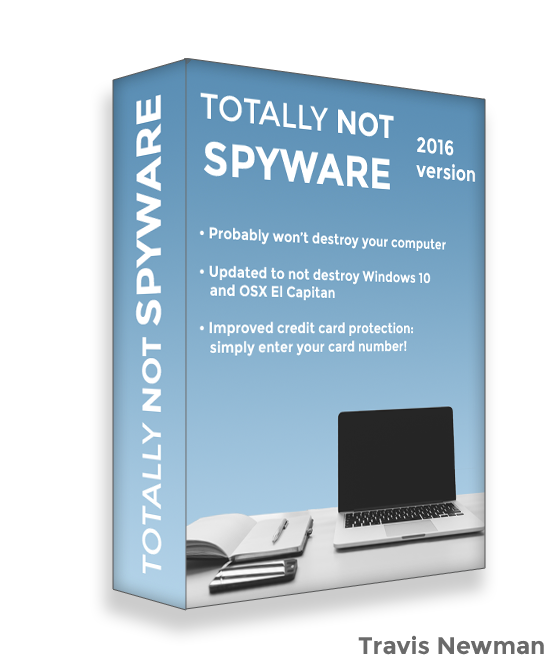
This project involves designing two rectangles and then using perspective warp to create the illusion of distance and depth. Added drop shadows and inner shadows help the illusion by adding lighting effects.
The desk image used is Creative Commons Zero licensed, found on Negative Space

This logo is for a fake business I used in an Entrepreneurship class. For the logo design I wanted something semi-abstract that could be used on its own and still look unique.
The name is a play on flapper slang from the 20s and 30s. "Firing on all sixes," sometimes "hitting on all sixes," is short for "firing on all six cylinders." It's slang for "working at full strength" or "making every possible effort."
For the All Sixes Design business card, I wanted something other than just the logo and some text. I added some simple design to make it stand out among the stack of business cards people might have. It isn't flashy, but it isn't basic.
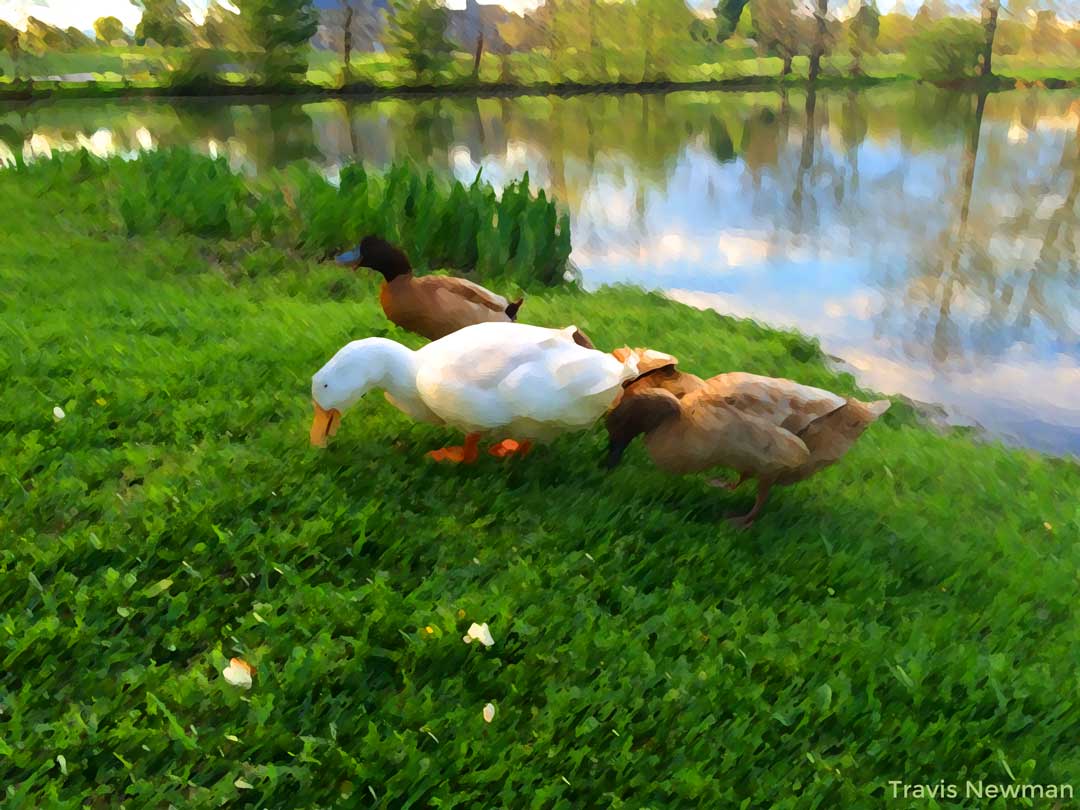
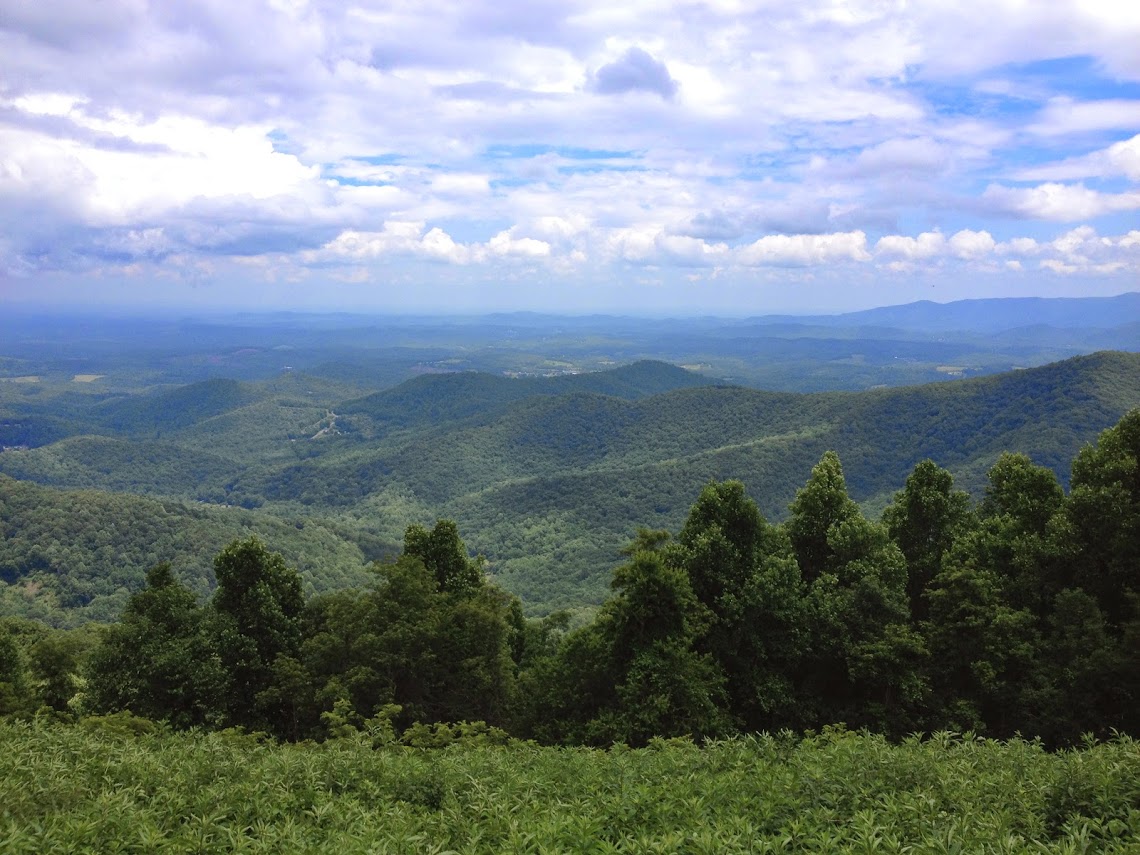
In a previous project, I used painting tools in Photoshop to paint over a photograph, so for this project I wanted to use filters instead. This project uses customized Dry Brush and Angled Strokes filters, along with a Hue/Saturation layer to boost the colors and make them look more painted in.
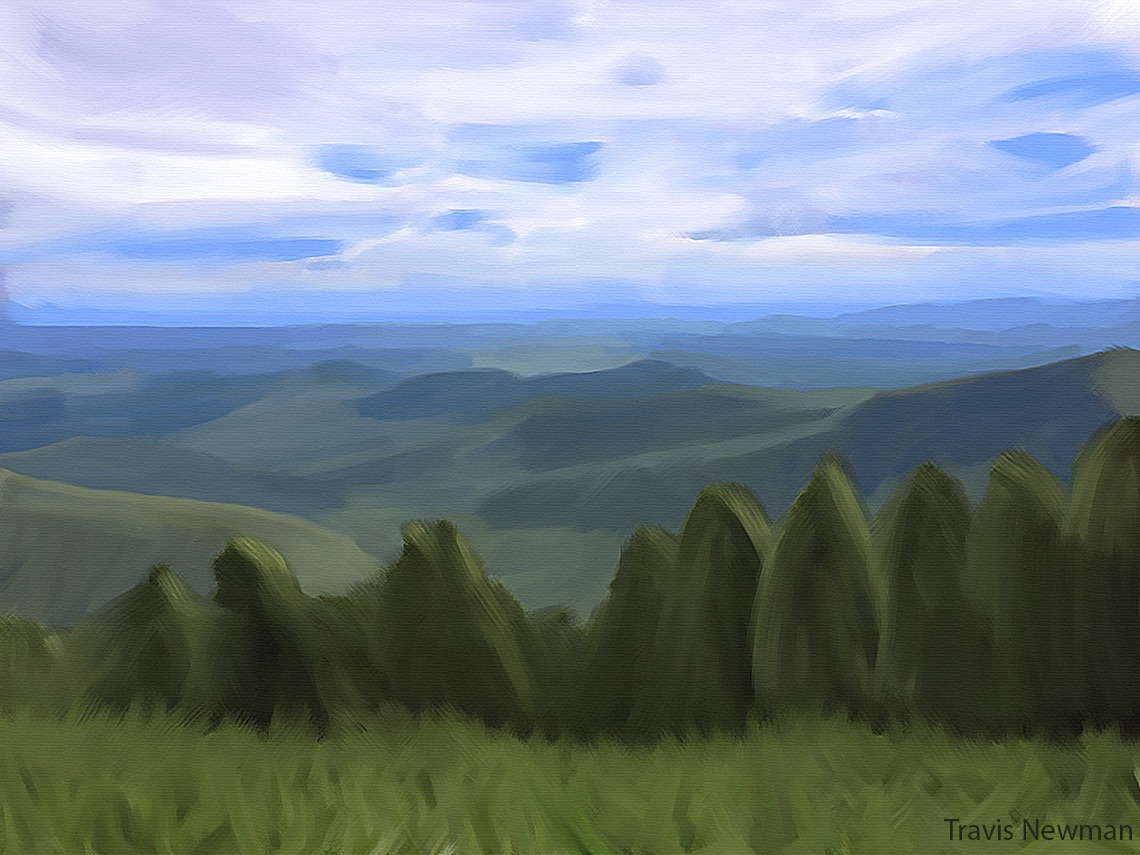
My wife and I were married at the park at Rocky Knob on the Blue Ridge Parkway. This scenic overlook is right across the road. This project involves using various painting techniques to paint over a photograph, to make it look like an actual painting.
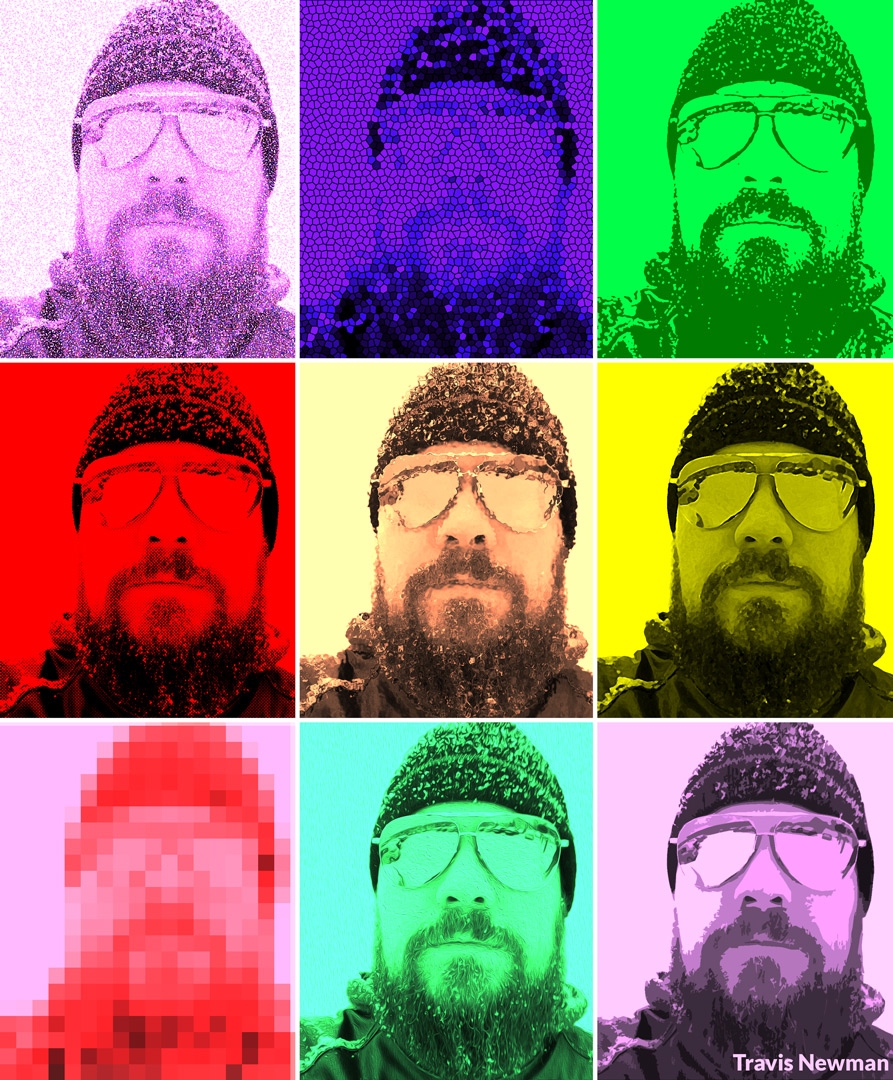
After looking at some Warhol paintings for inspiration, I chose nine different filters and applied them to desaturated copies of the original photo. Then, I modified the color channels for each to make different colors show through.
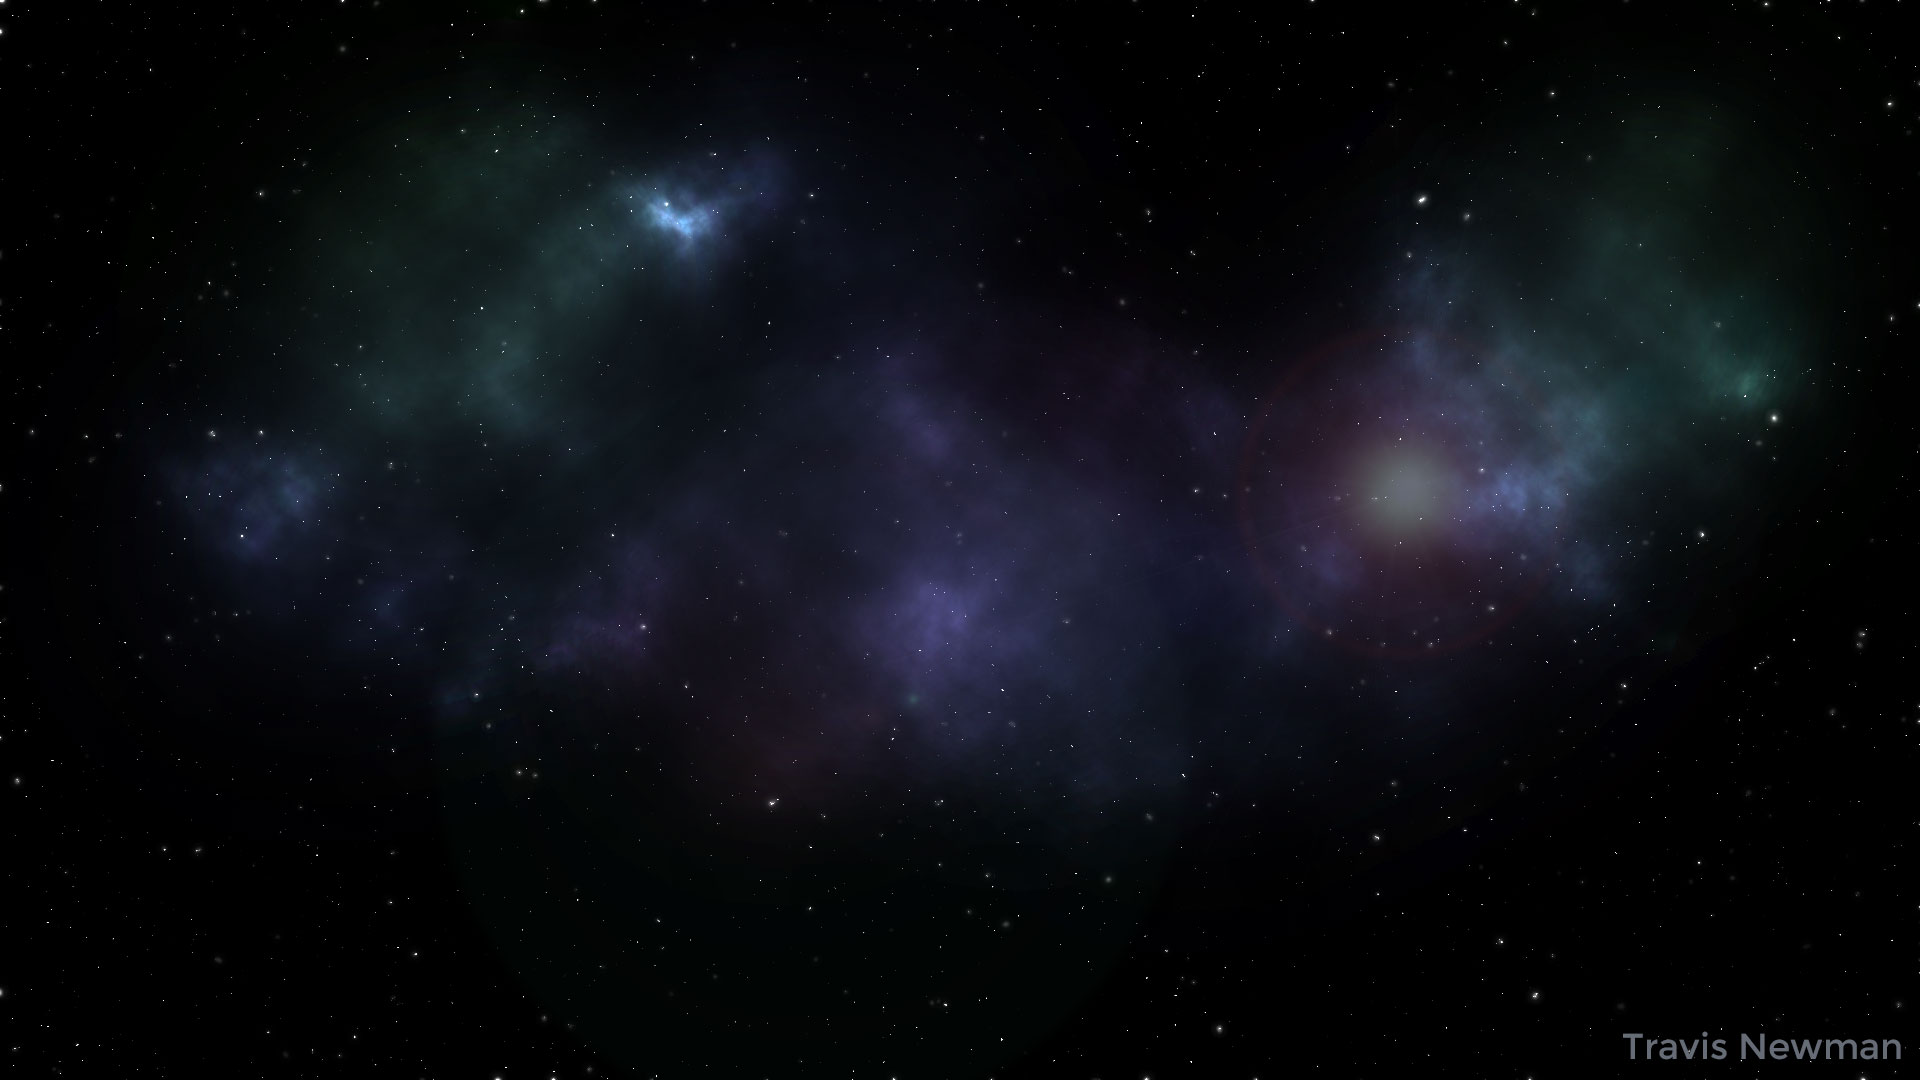
I needed a starfield background for another project I was working on, but I couldn't find one I liked. So, I made one! This image was created only using the tools inside Photoshop, no outside assets were used.
The stars themselves are achieved by adding noise to a black background, then duplicating that layer and changing the color balance on each to make different levels of noise come through. Then for the layer with the fewest stars showing, add a glow layer style to make them shine brighter.
Then, for the color effect, use Photoshop's cloud rendering tool to make a layer of white clouds on a black sky. Set that layer to color dodge, and paint under it with large brushes.
Finally, a lens flare can be used to simulate a bright star shining through the space dust.
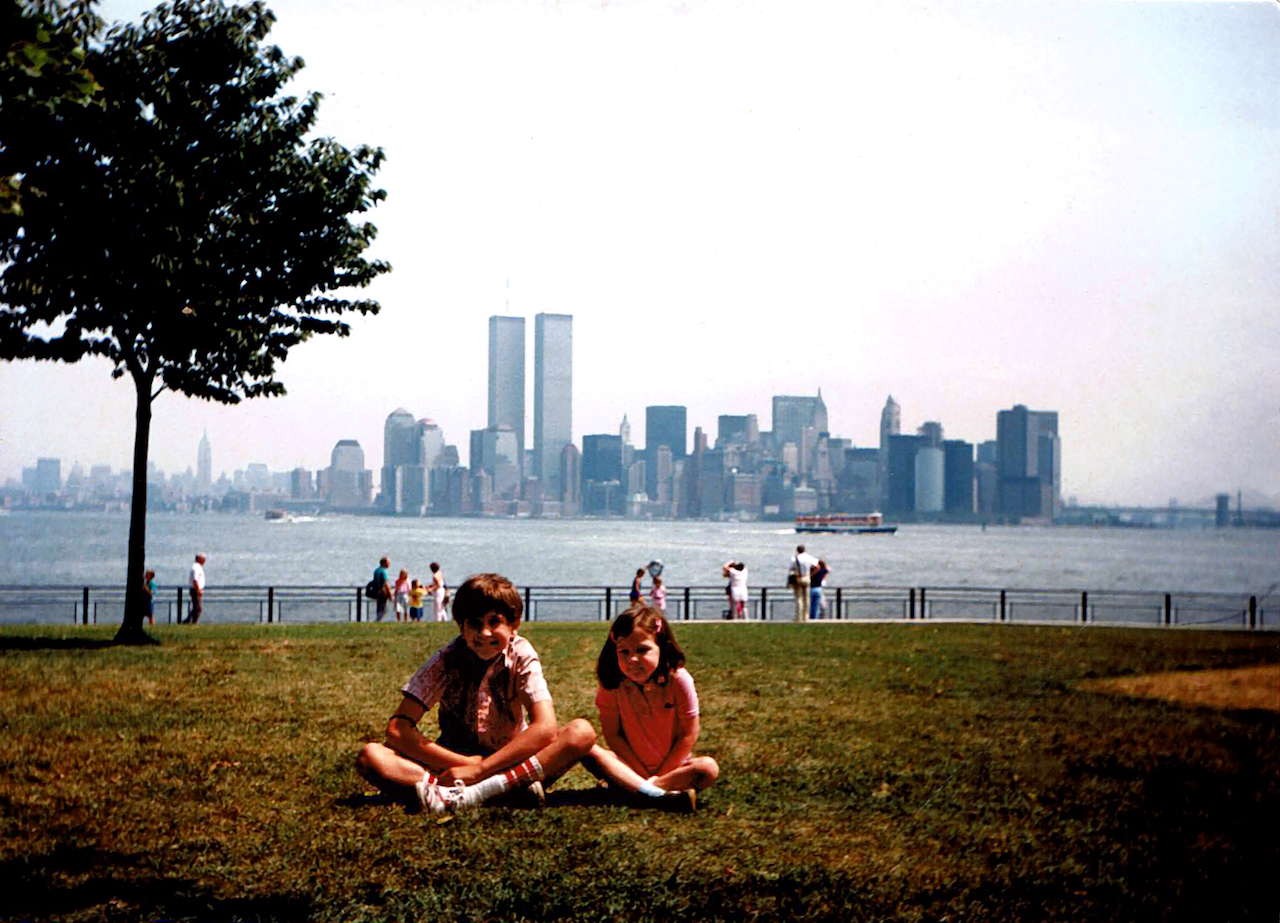
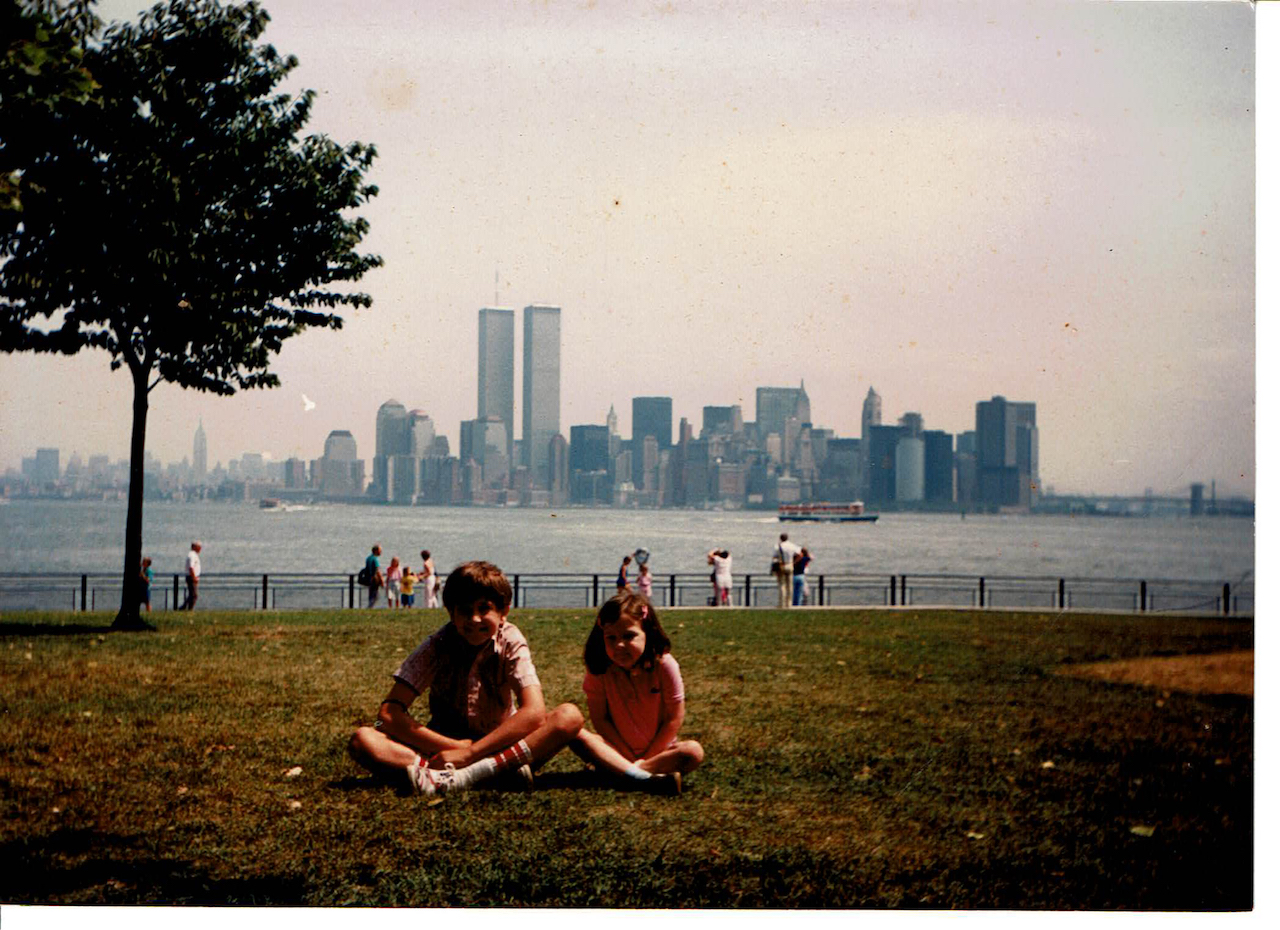
I started with an old photo of my wife and her brother in New York City from when they were kids. Then, I cleaned up the image and removed some artifacts by using color correction, spot healing, content aware fills, etc.

This technique is using layer masks to make things look like they're weaving in and out of text.
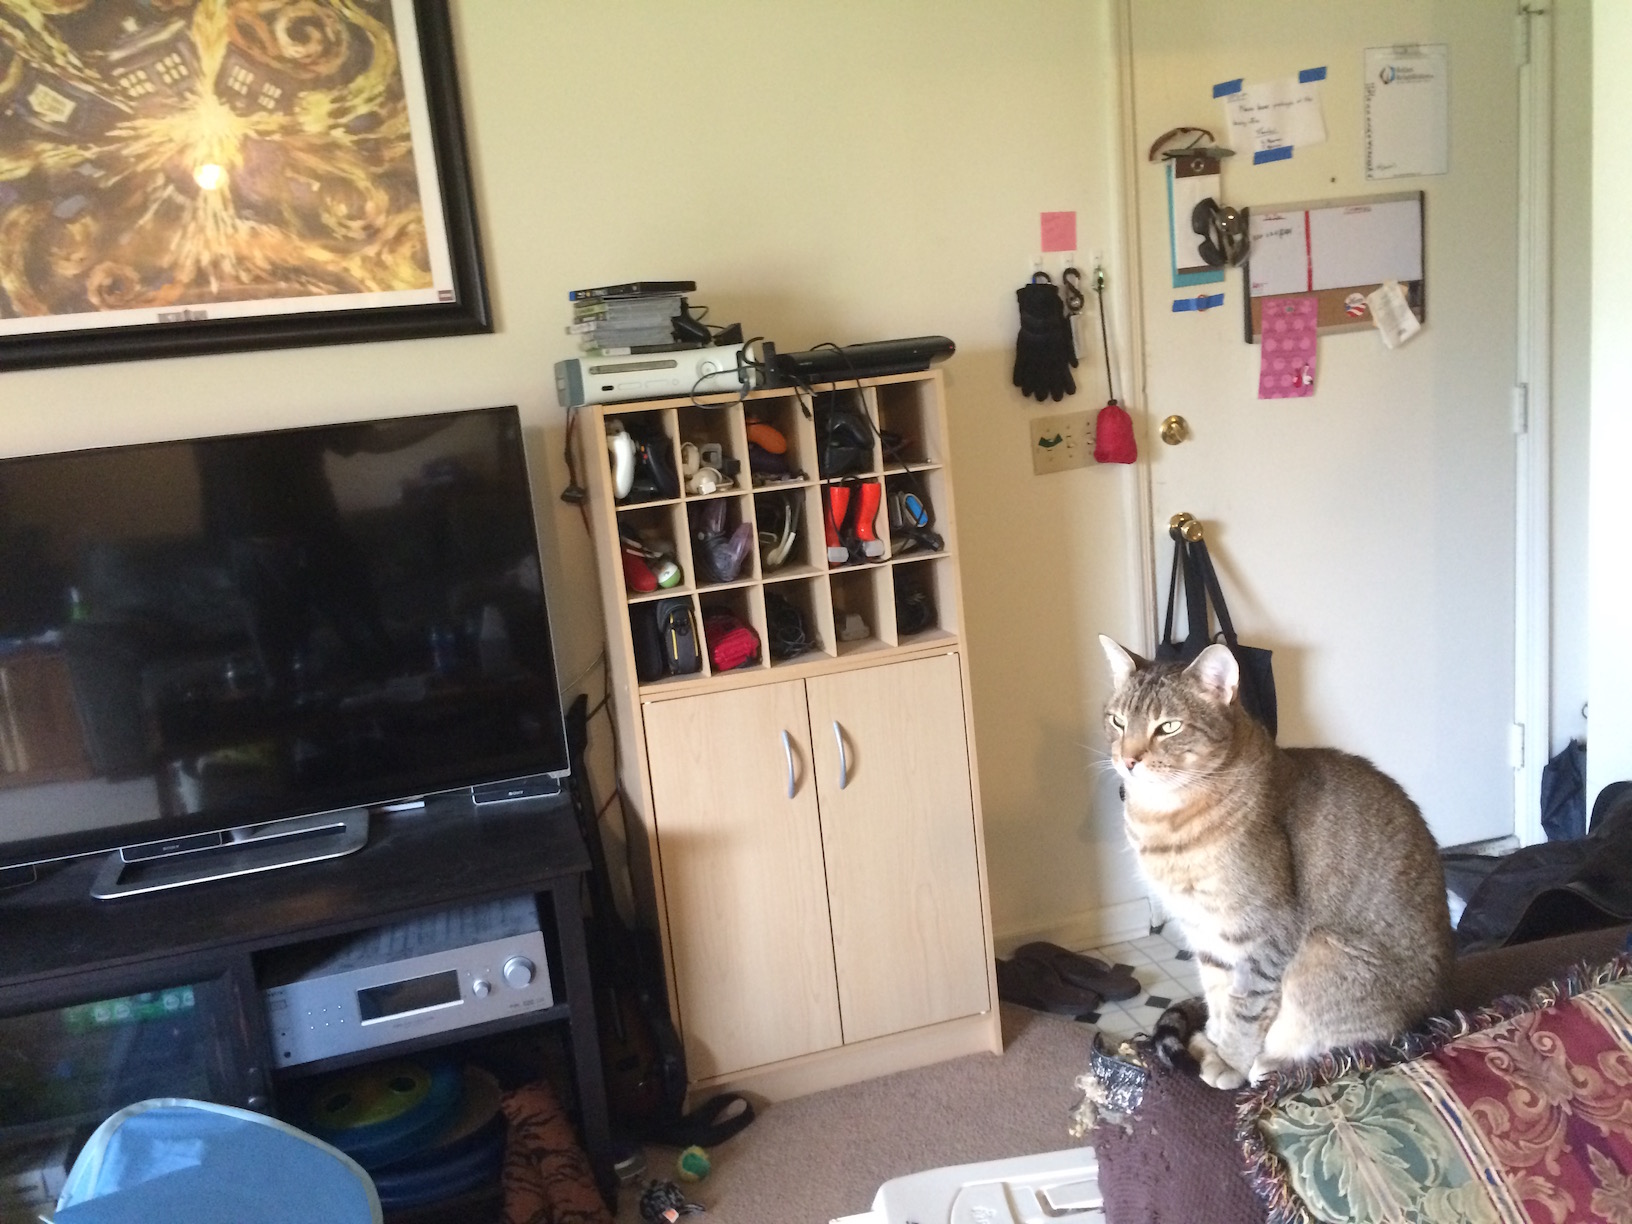
My initial idea was just to take a picture of inside my PC and use that but when I got in the floor and saw the mess of cables behind the desk, I framed the picture to use both. This effect is achieved simply by using a layer mask and drawing over it with a hard brush to show the cables below.
And yes, I cleaned my PC later that day.


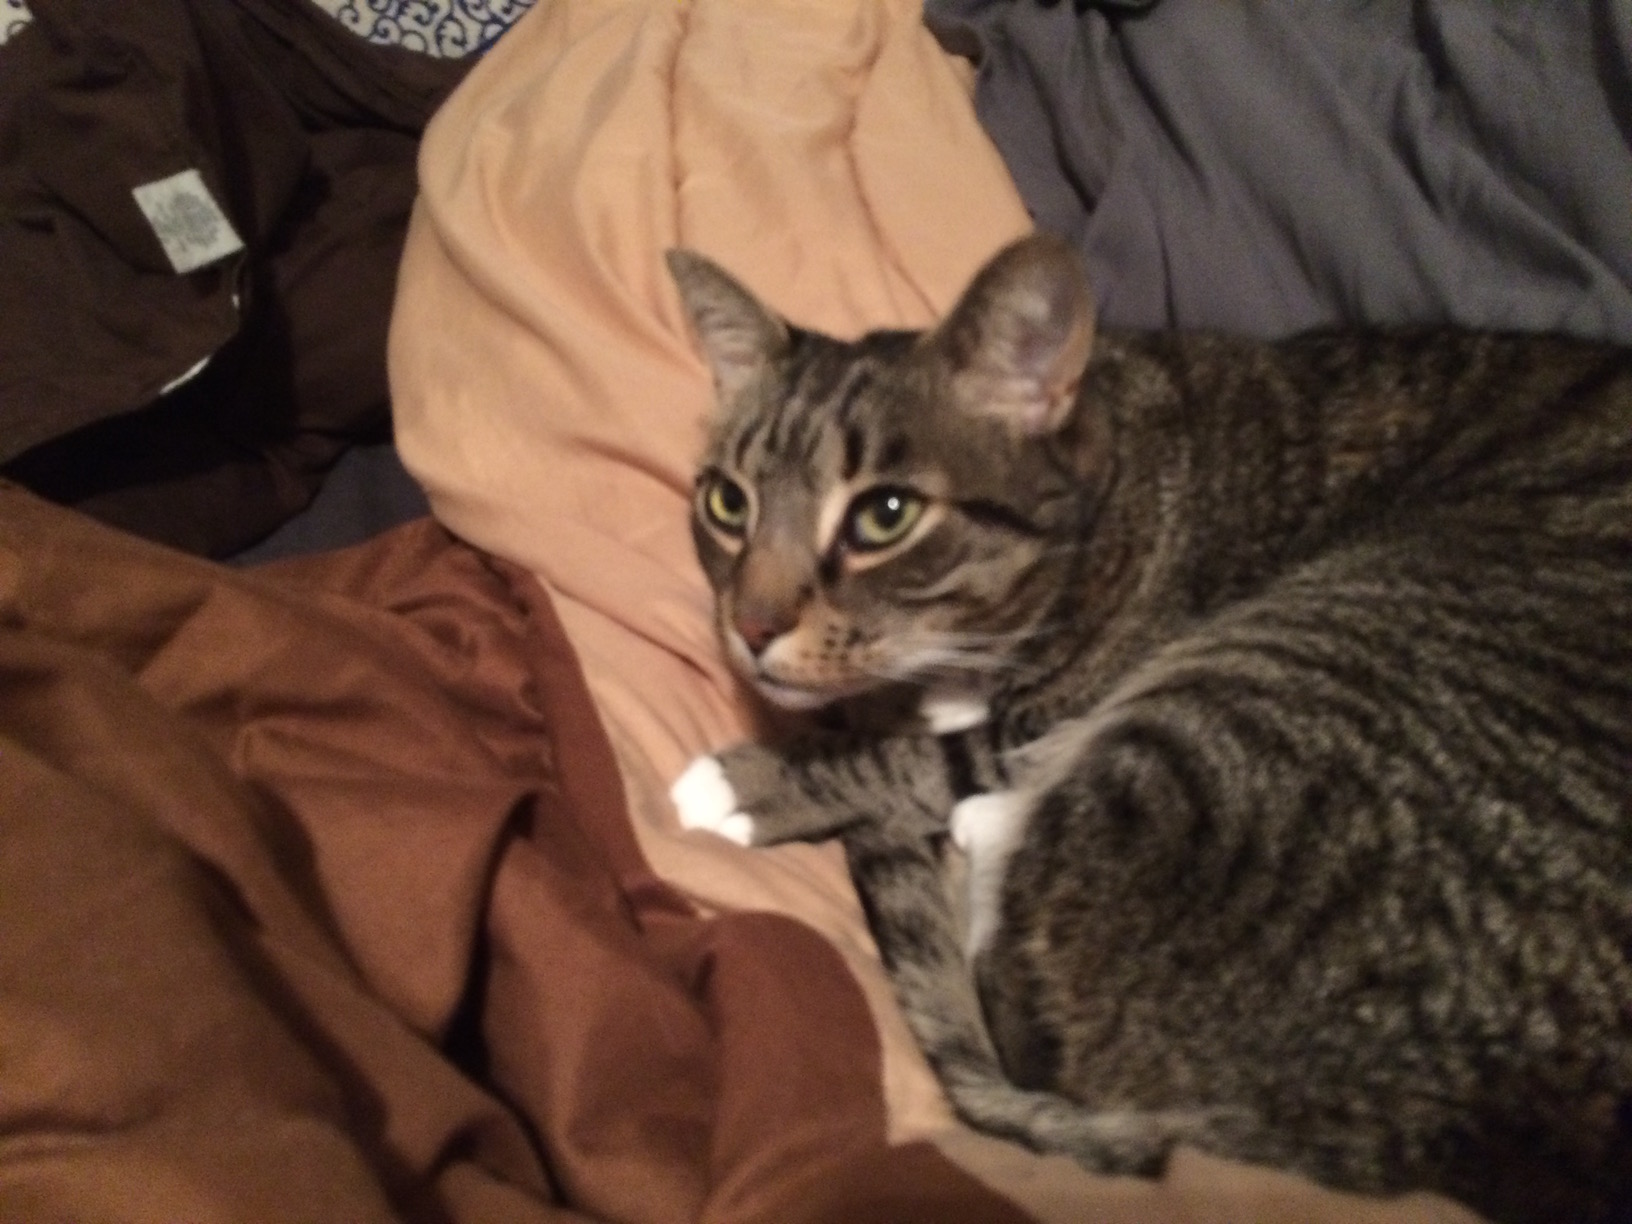
This technique is using the clone stamp tool to create perspective with proper positioning and sizing.
To create the poster effect on the cats, I made three different copies of my cats to give them different contrast, gave each contrast level different colors, and put them on top of each other. Then, I used the clone stamp tool to create an army of Max using the perspective technique.
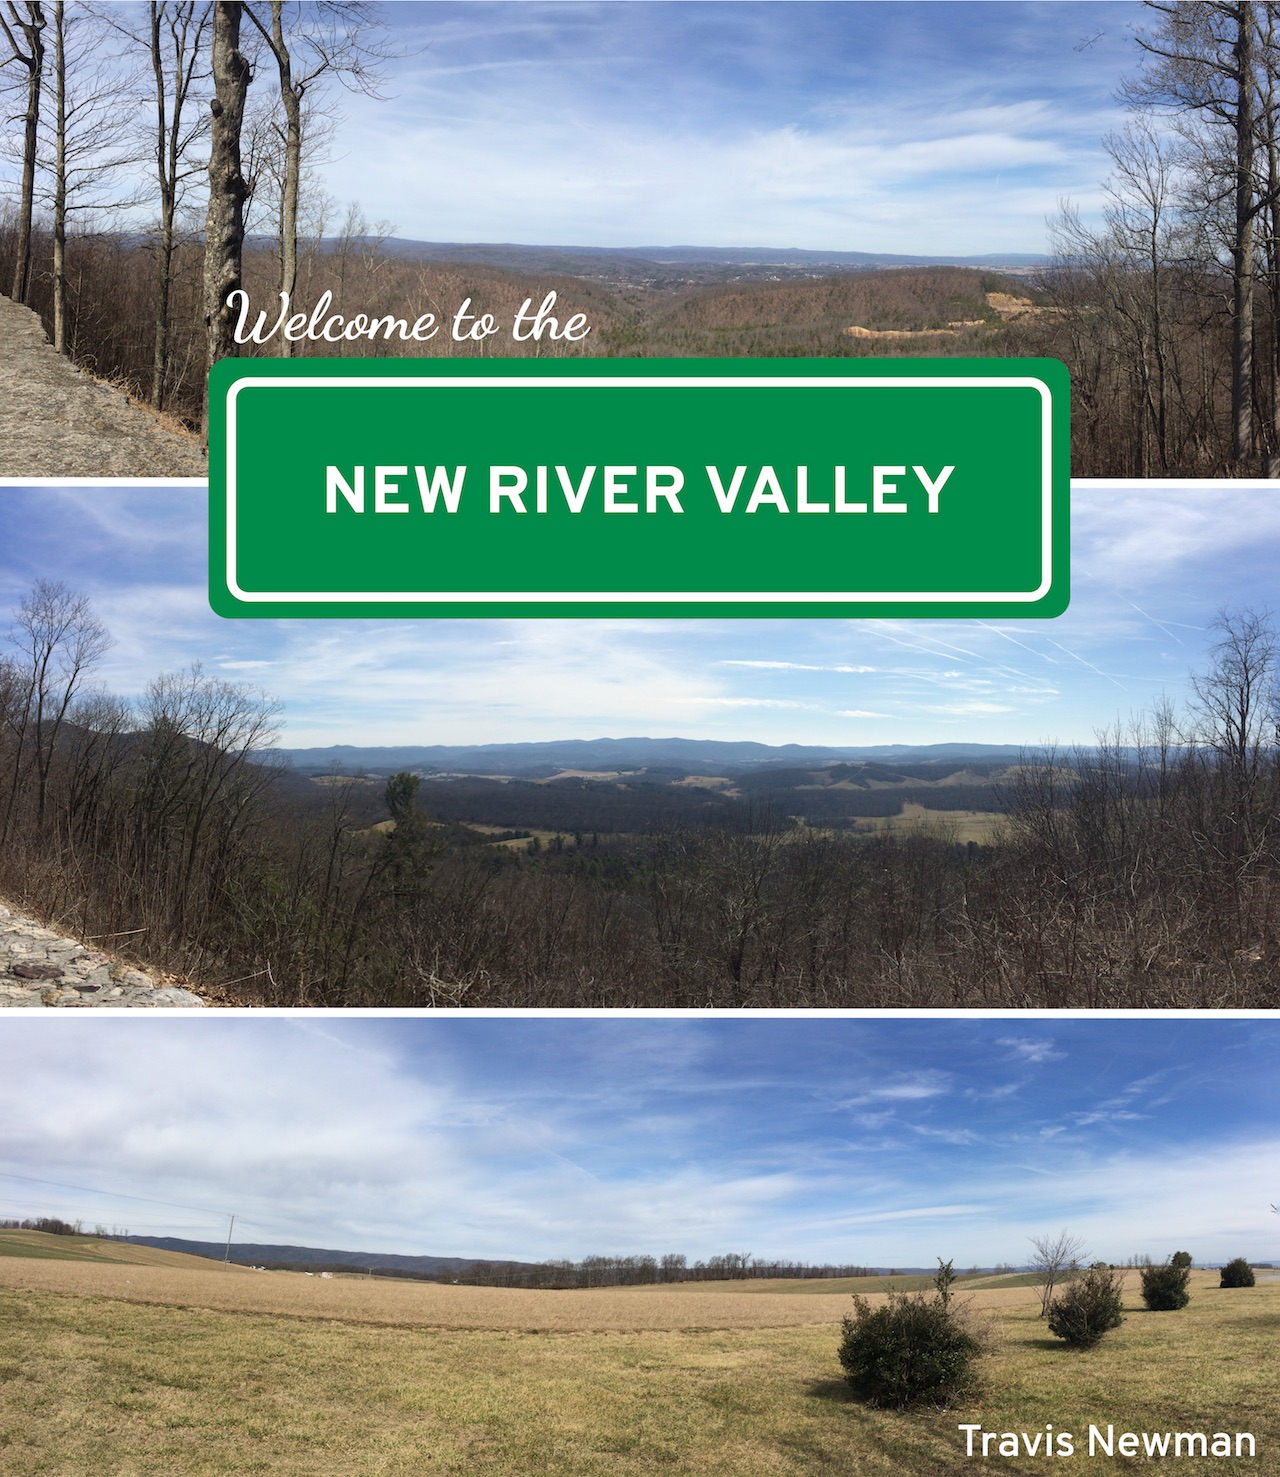
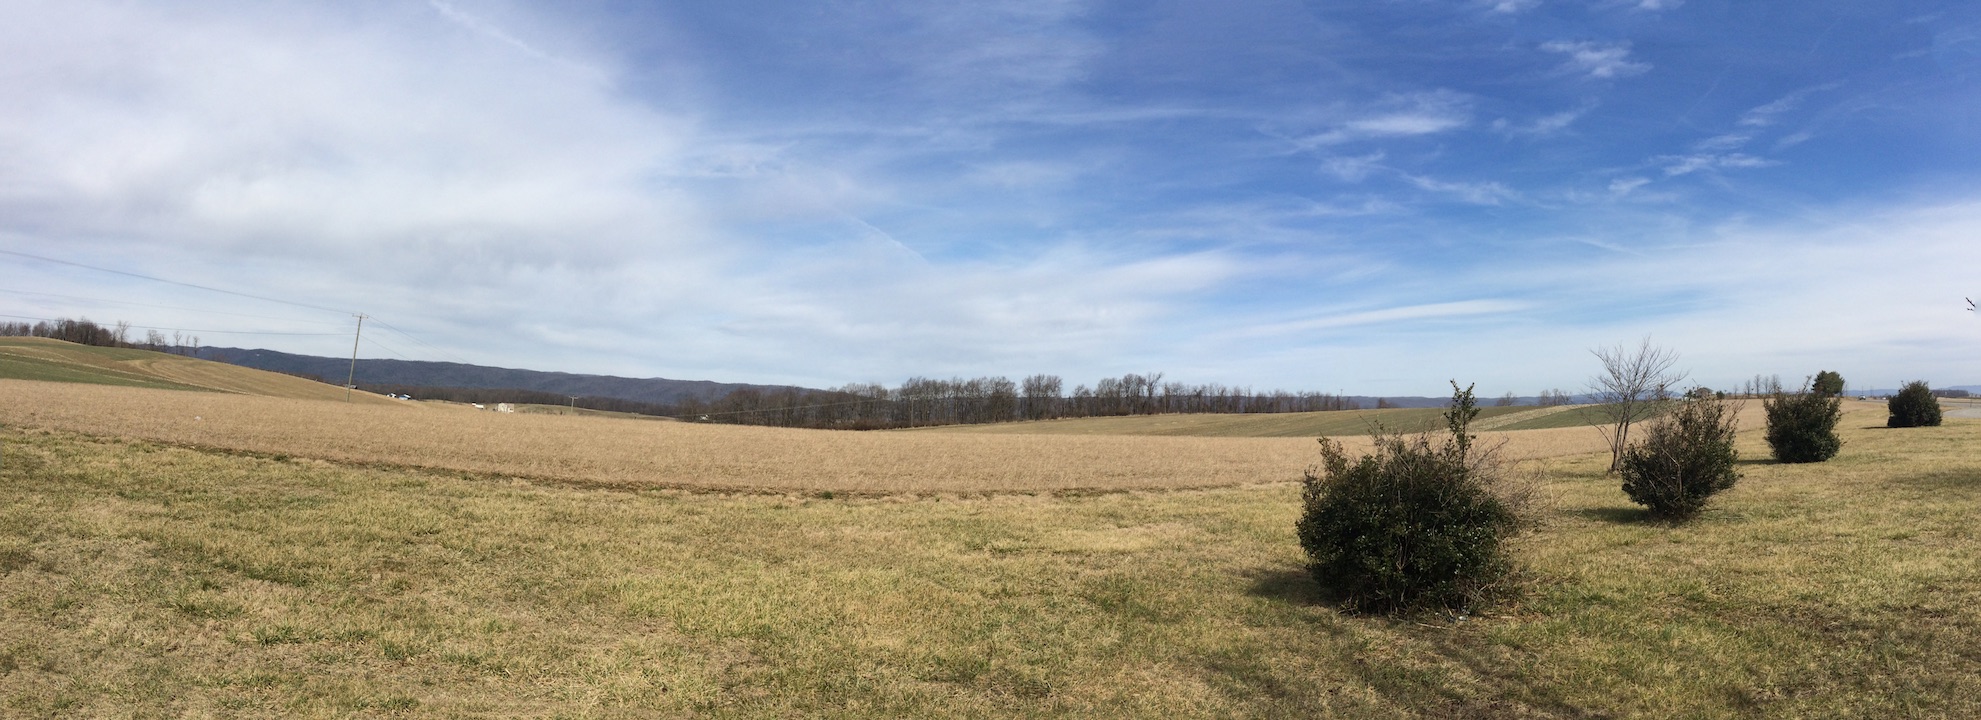
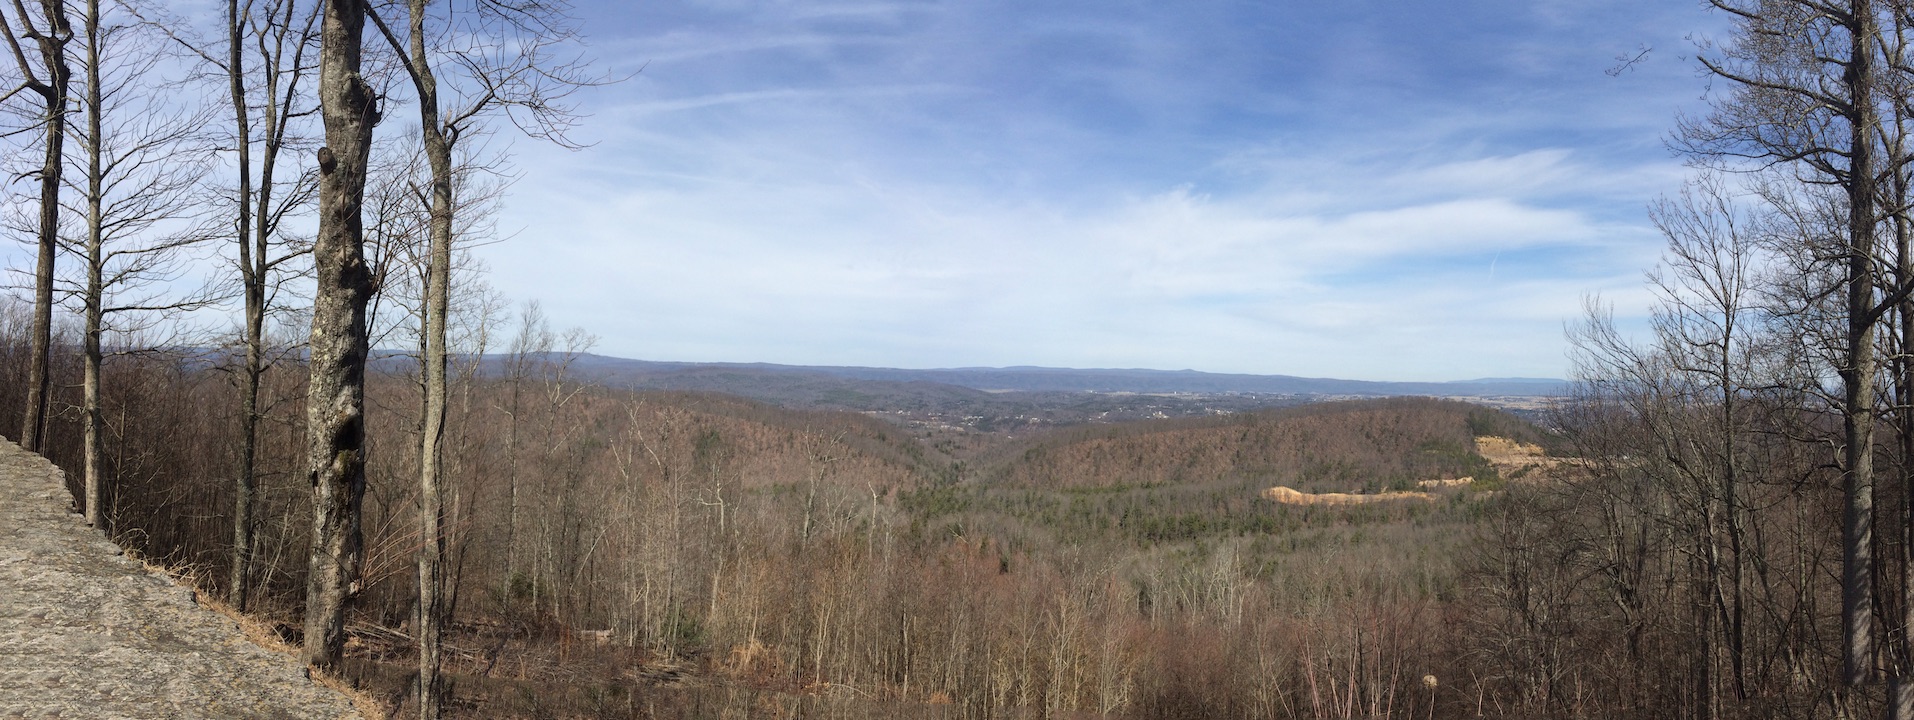
I took photos at three sites and stitched them into panoramas using Photoshop. The built-in panorama functionality is quite effective. Then, I combined all three together and added a road sign to complete the design.
Unfortunately, I should have waited a week or two. The grass became green and the trees filled in very shortly after taking these!

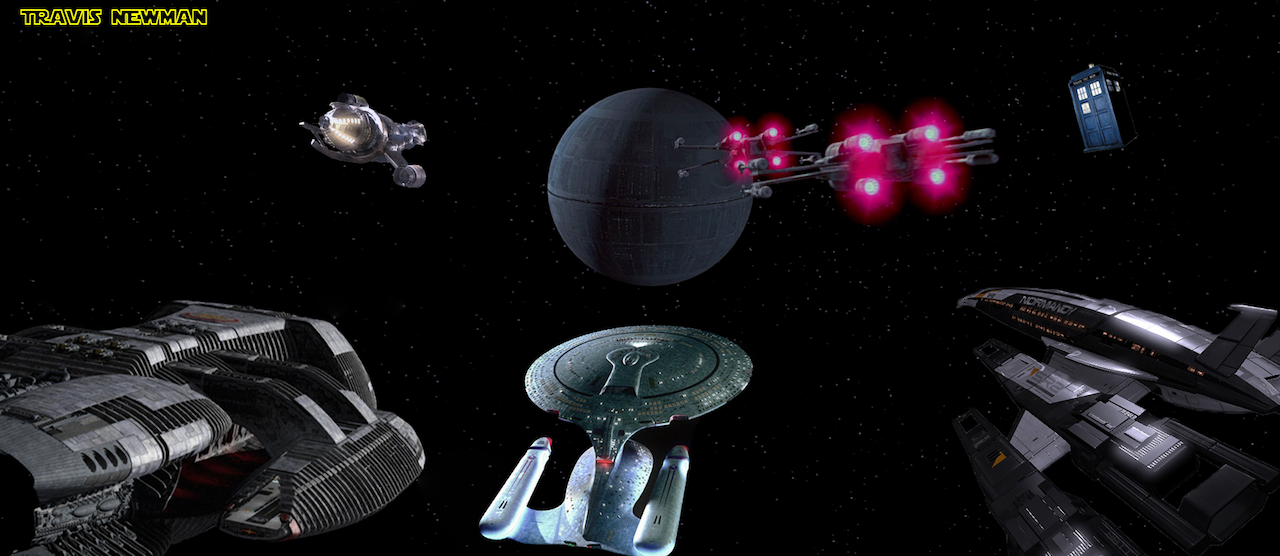
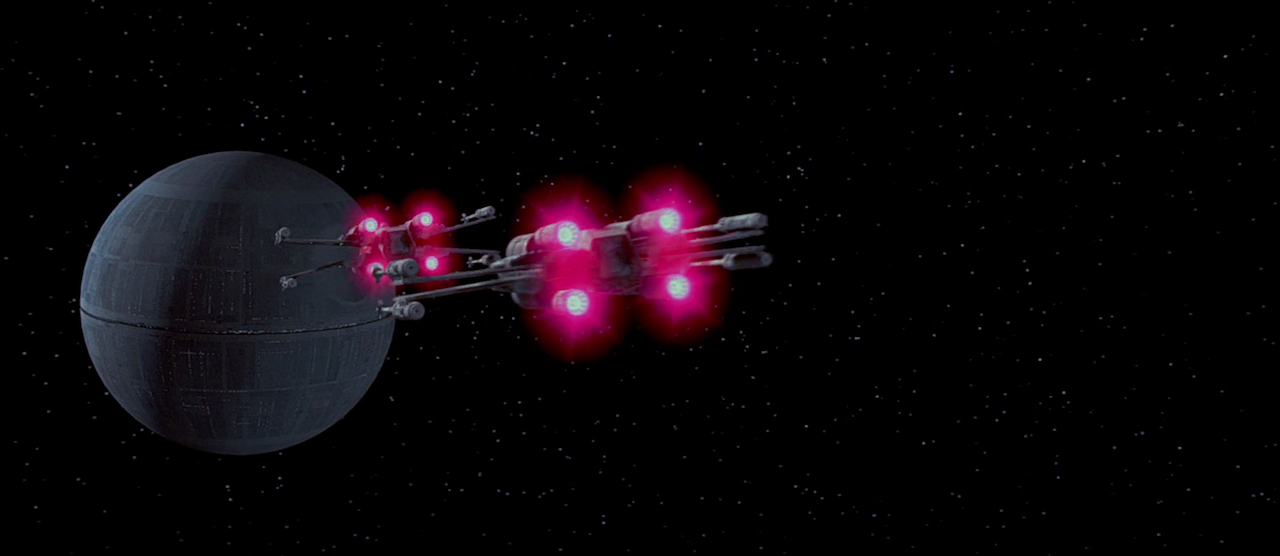
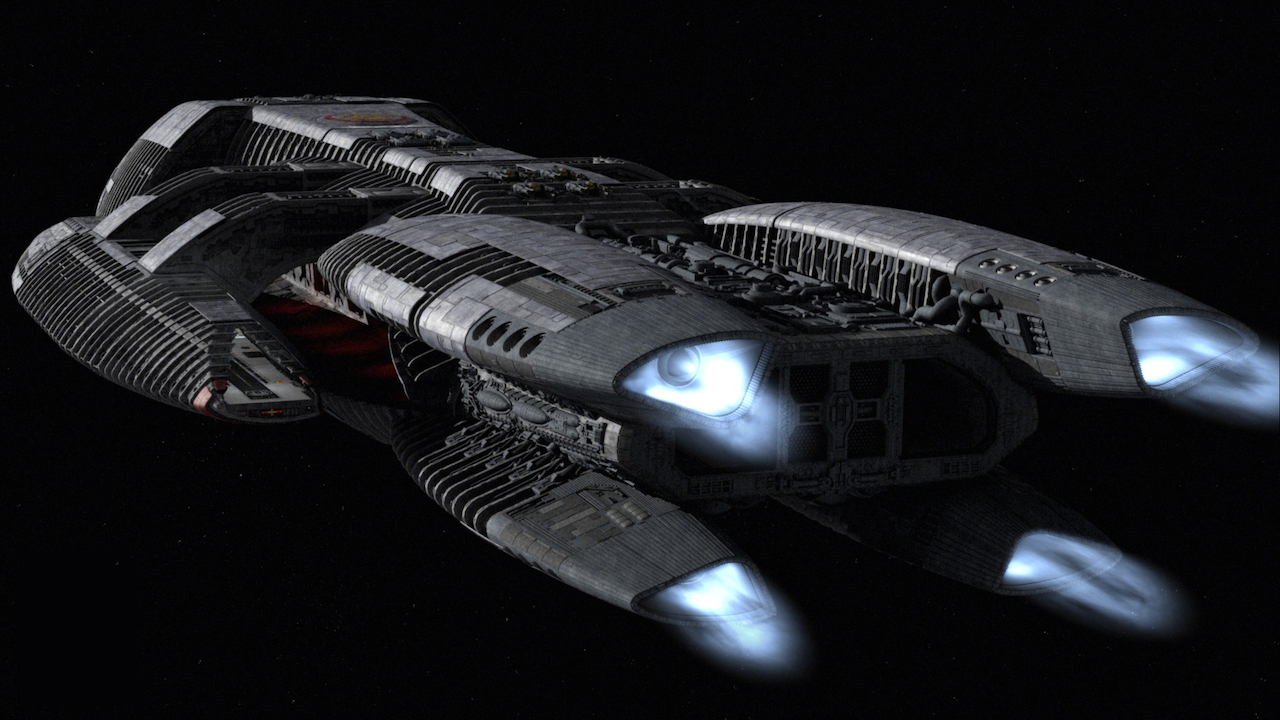
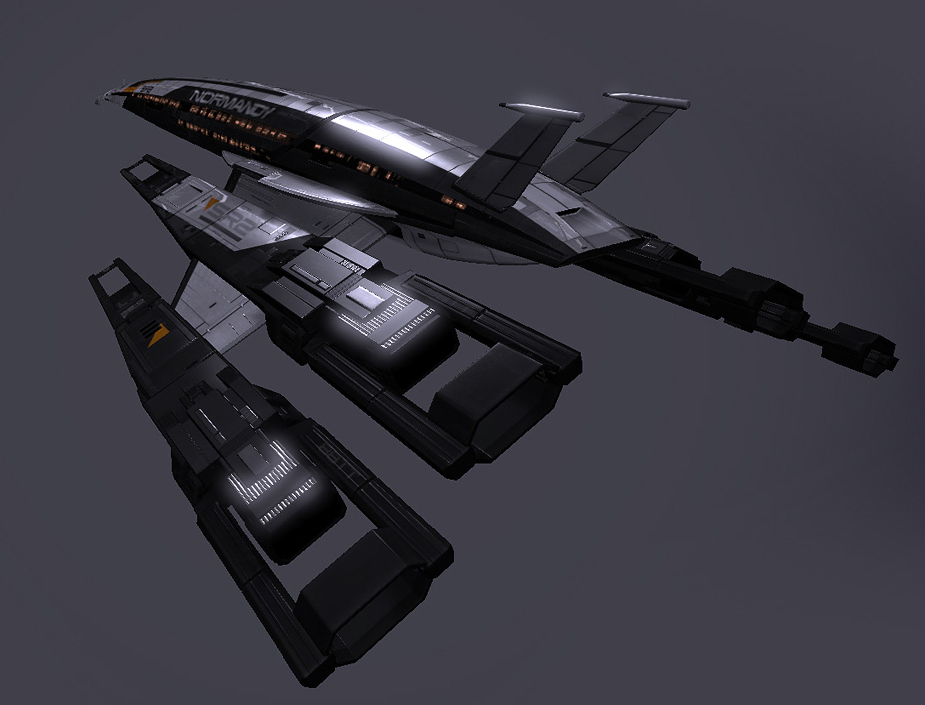
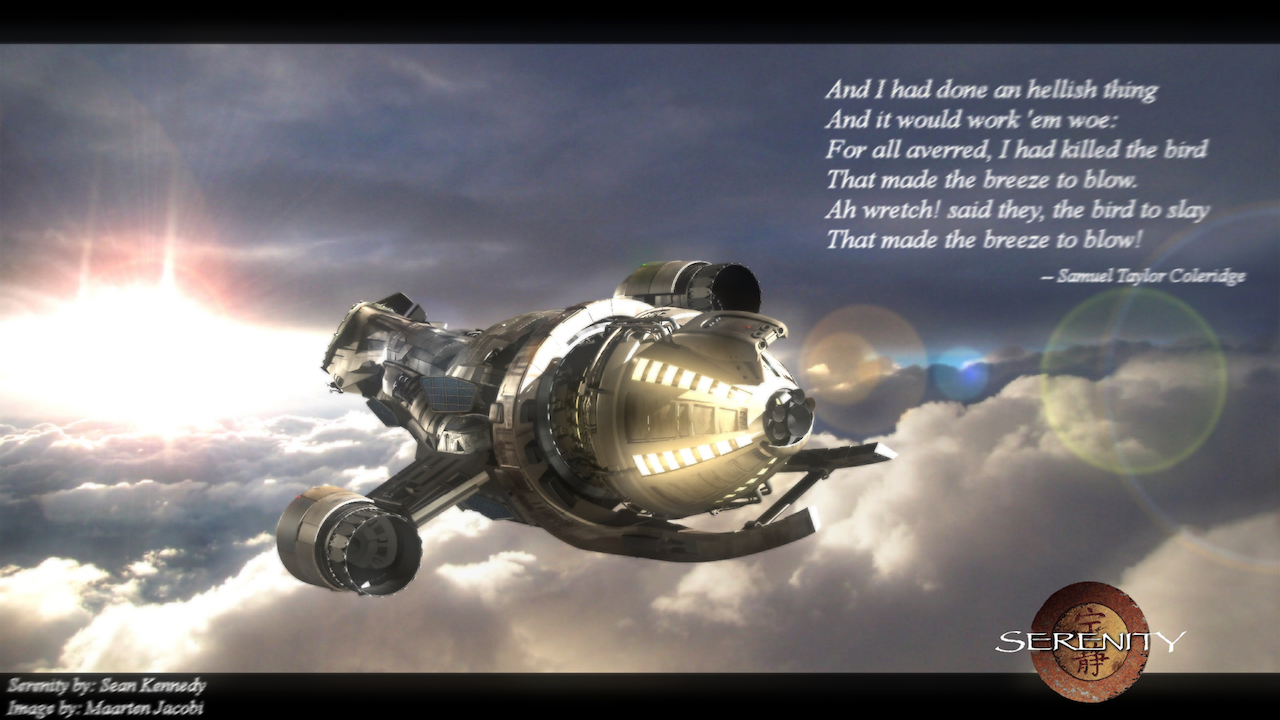
This Photoshop composite image brings other famous sci-fi ships into the Battle of Yavin in Star Wars.